DIY Outdoor Curtain Rods
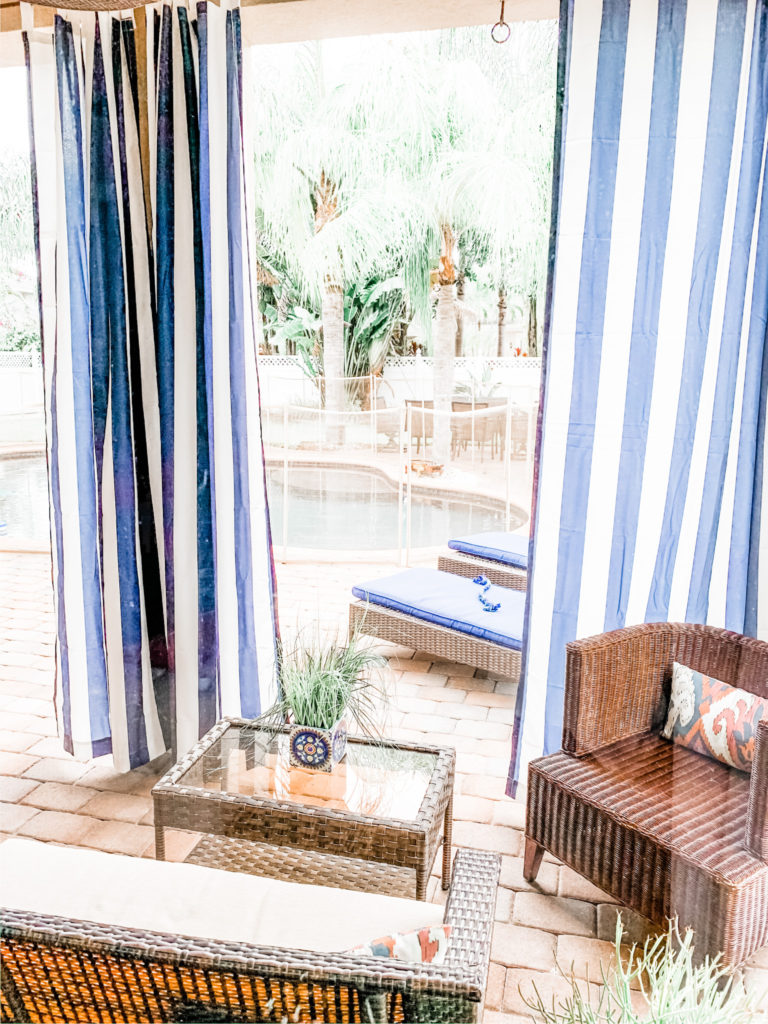
I am finally getting around to styling the back patio right off our family room. The first thing I wanted to do was to install some outdoor curtain to make it seem more like a room than a porch. Plus, it will be great for added shade during the late afternoon.
I found the exact curtains I had envisioned pretty easily. I got this beautiful nautical navy and white striped outdoor curtains at Wayfair.com. I love them because of not only their look but also because they are waterproof, fade resistant, and mold/mildew resistant. BUT I was having the hardest time finding AFFORDABLE outdoor copper curtain rods that had the industrial look I so wanted (because you all know by now I LOVE COPPER!). Well, copper outdoor curtain rods are hard to come by and seem to cost a small fortune SO I decided to create my own. They turned out pretty AMAZING if I do say so myself.
For those of you wanting to create a similar look, the DIY steps are below with some pictures. Happy Improvements!
Materials:
- 1/2 ” Metal EMT Conduit (10 feet long)
- 3/4″ Iron Pipe Connector Nipples
- 3/4″ Iron Pipe Fittings
- 3/4″ Floor Flanges
- Ratchet Tube Cutter for Metal
- Spray Paint (I used Rust-Oleum Universal Metallic Spray in Rustic Mist)
- Hammer Drill (regular drill if going through wood siding)
- Concrete Screws (if going through concrete otherwise use wooden screws)
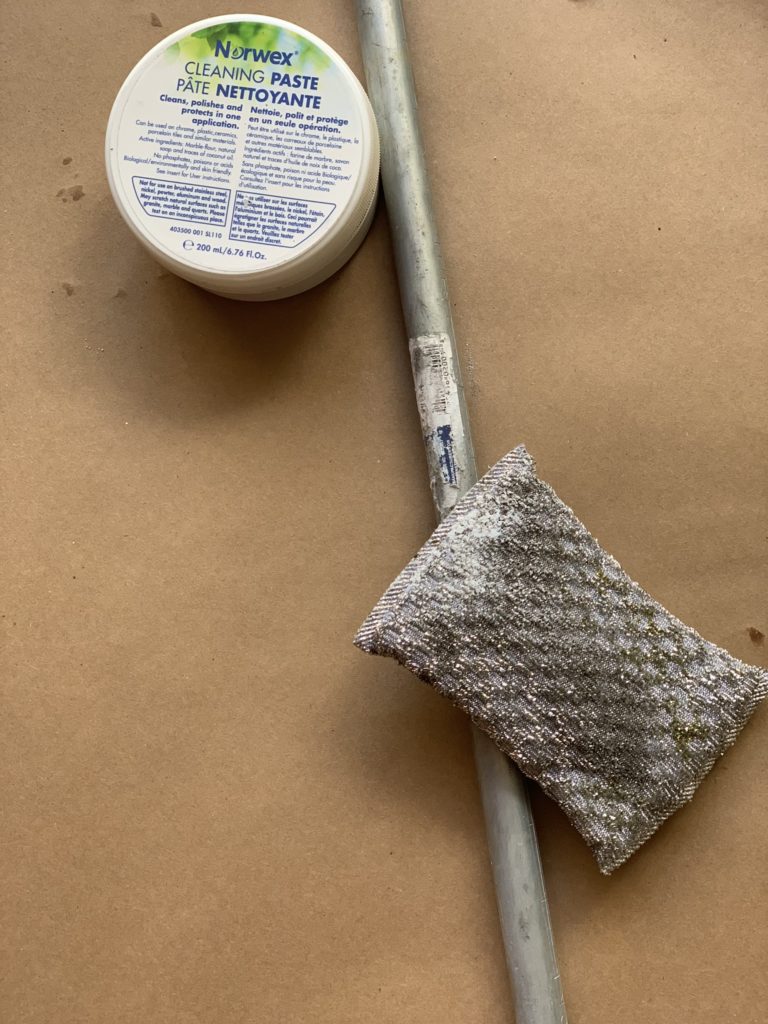
Step 1: Clean all your metal pieces. I personally LOVE using my Norwex Cleaning Paste and SpiriSponge to easily clean and remove sticker residue.
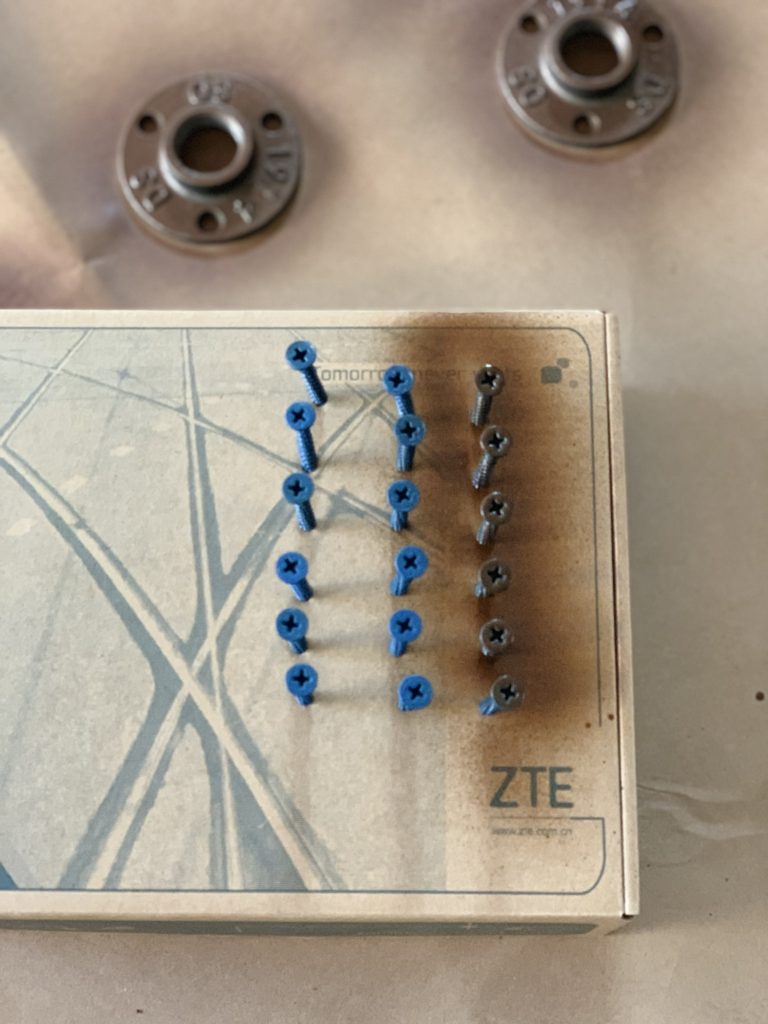
Step 2: Spray paint all your metal pieces, even the screw tops. (TIP: take an old cardboard box and screw the screws into it to keep the screws upright to spray paint)
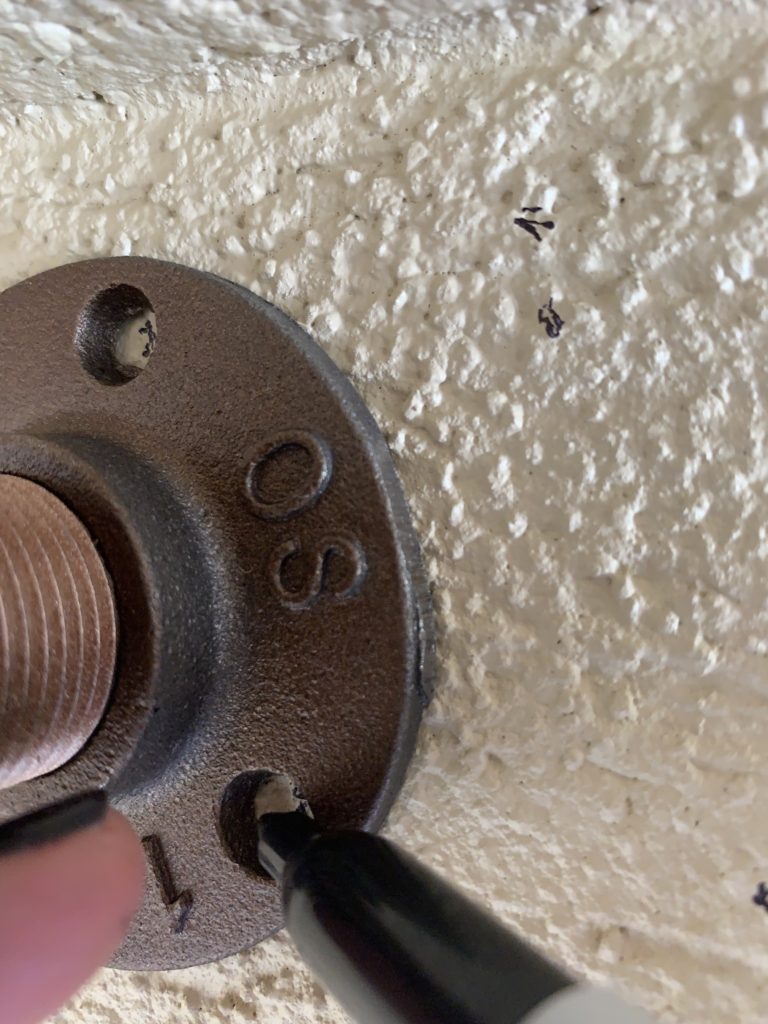
Step 3: Decide where you are going to place your Iron Pipe Flanges and Fittings. I chose to go a few inches in on the wall so that my curtains can be pinned back if wanted without the top of the curtains bunching up too much. I like to place the flanges exactly where I want them to go and then mark where the screws will go in with a marker to make sure its perfect before I start to use my hammer drill. I screw in the flanges first and then add the fittings. (Otherwise, you will be fighting the fittings the ENTIRE TIME you are trying to screw in the screws). For the height of the Fittings (and rods) you will want to look at the length of your curtains and make sure the bottom of the curtains will almost skim the ground. I do suggest to not have your curtains hit the ground or pile up on bottom since they will be outside exposed to elements–trust me you don’t want to move your curtains and have bugs/small animals crawl out or have mildew collect.
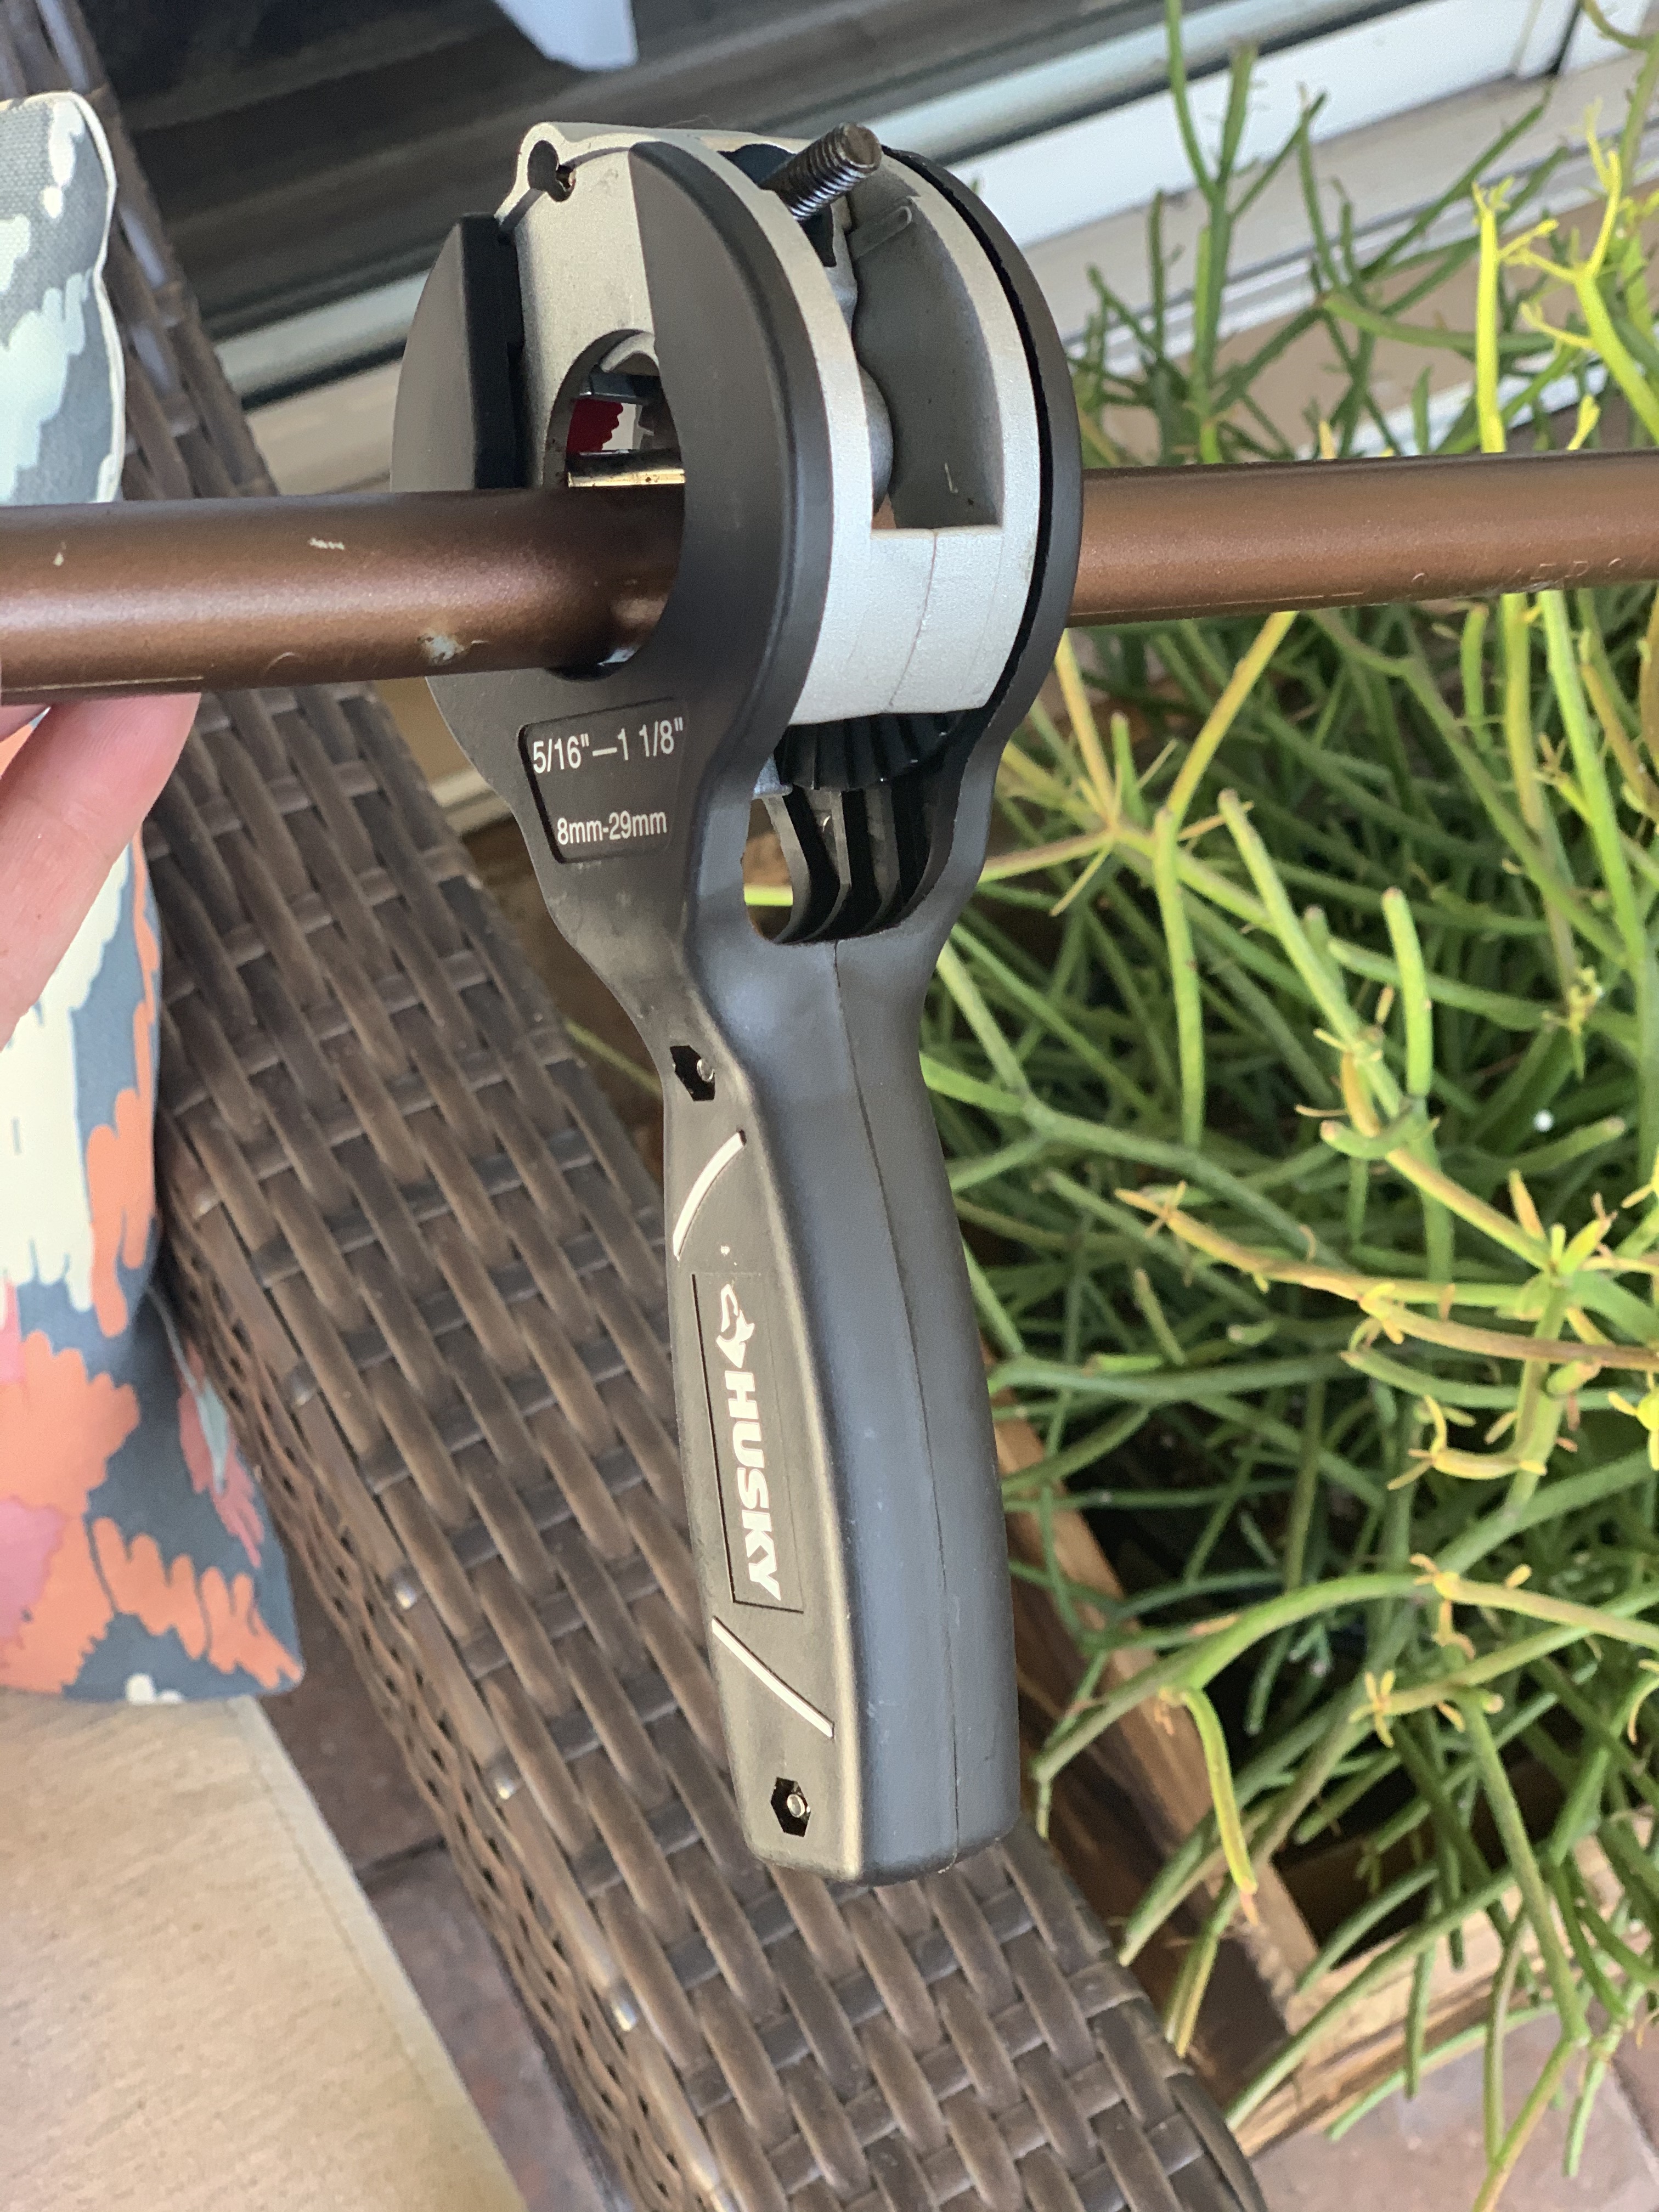
Step 4: Measure the length you need your curtain rods, then remove about 1 inch (allowing for 1/2 an inch on each side to move the poles in and out the connector pieces). Cut your poles using the Ratchet Tube Cutter for Metal.
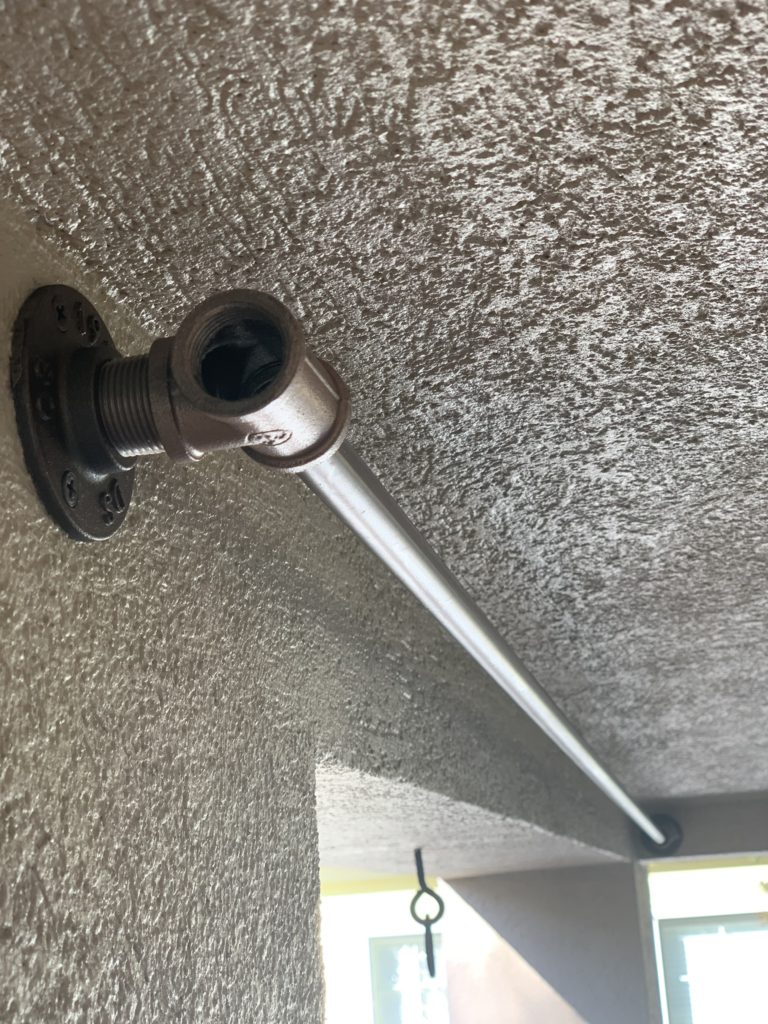
Step 5: Now here is the tricky part–placing the rods within the fittings. Remember, how I mentioned cutting the rods a bit shorter in Step 3, you will now see why this is imperative. You will want to work one end of the rod in one of the fittings, then when you go to the other side you will need to slightly unscrew the fitting so its at an angle then twist it back so the rod is place snuggly inside the fitting. Place your curtains on the rods. Repeat for all rods. (The extra rod amount removed, allows for you to have it securing placed in the fittings in case there is crazy wind/rain/etc but also if you want to change out your curtains you can easily).
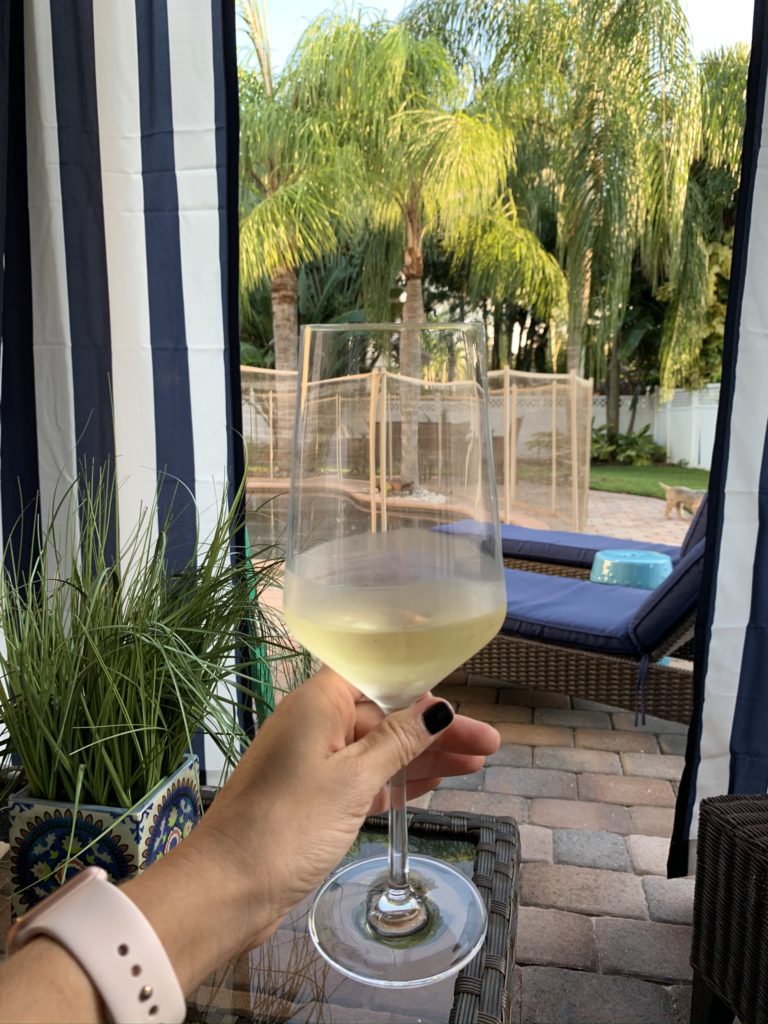
Step 6: Take a step back, pour yourself a drink and CHEERS YOURSELF for a job well done!