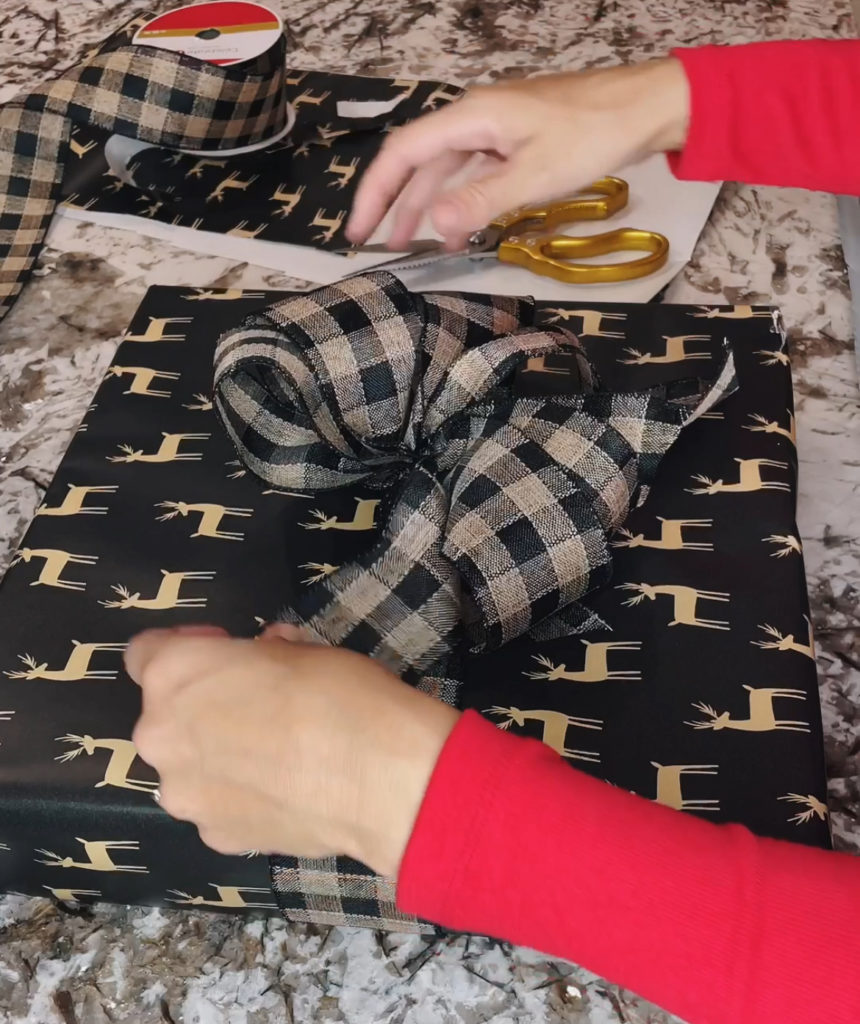
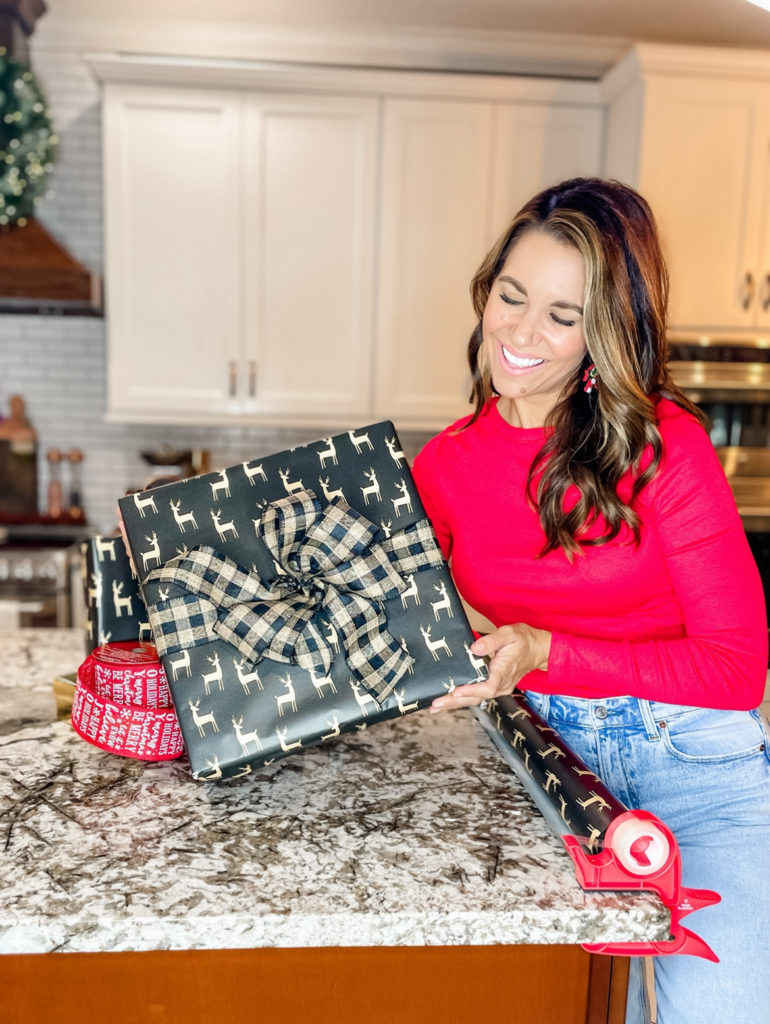
How to Make a Gift Bow
In 2003, I was trying to put my self through college on scholarships (thank goodness for those!) and a part time job as a perfume rep. Yep, I was on of those gals who would spritz you at the perfume counter so you could try the newest on trend scent. I got to travel around to a couple different department stores since I worked for the actual perfume company which meant I met tons of salespeople.
That first Christmas was sooooo busy and thankfully I sold out of the entire line of the perfumes I was promoting before Christmas and the company still wanted me to do my hours to at least be there if one of our normal customers had any questions. During that time were I had some “downtime” one of the sweetest department store sales gal and I became friends. She was 70 years old and a spit fire of a lady. She cracked me up. One day I noticed when she wrapped customer gifts she would take the extra few moments to make the most beautiful bows out of the ribbon. I was so impressed and she graciously offered to teach me her “quick and easy” process. Needless to say, I still follow her bow making ways today and my bows are always the talk of the holidays.
Now, I can’t wait to teach you what she taught me all those years ago….
If you prefer to watch a video to see the whole process from beginning to end, watch the below. If you keep scrolling down past the video there are step by step directions written out with photos.
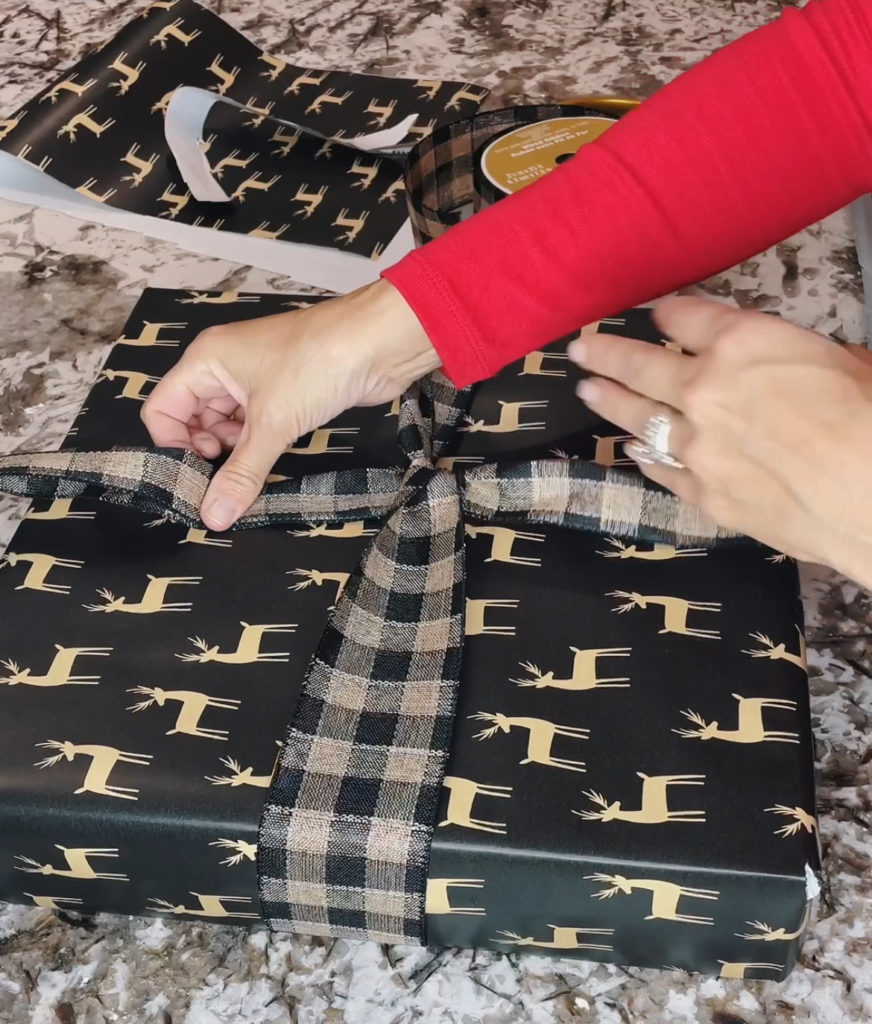
Step 1
Take your wired ribbon and tie it around your package — you can tie it one way just across or 2 ways to have the ribbon run horizontally and vertically. Make sure to tie a double knot here and to cut ribbon on angle when cutting away from the roll.
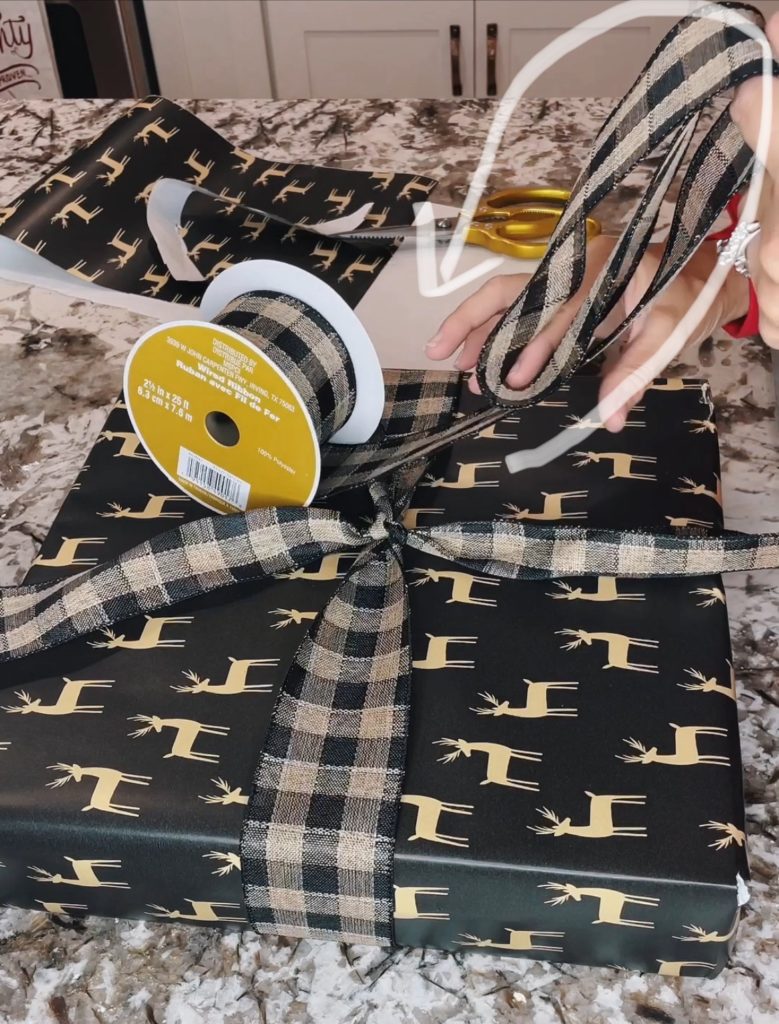
Step 2
Next you are to take one end of the spool of ribbon and hold on to the end as you roll the ribbon around itself to make big loops.
If you want a large bow in terms of length it covers the package then you need to make longer loops. If you want your bow to be fluffier, you need to roll the ribbon more times around itself.
Once you roll the ribbon around itself to desired thickness, cut the ribbon off from the roll at an angle.
Step 3
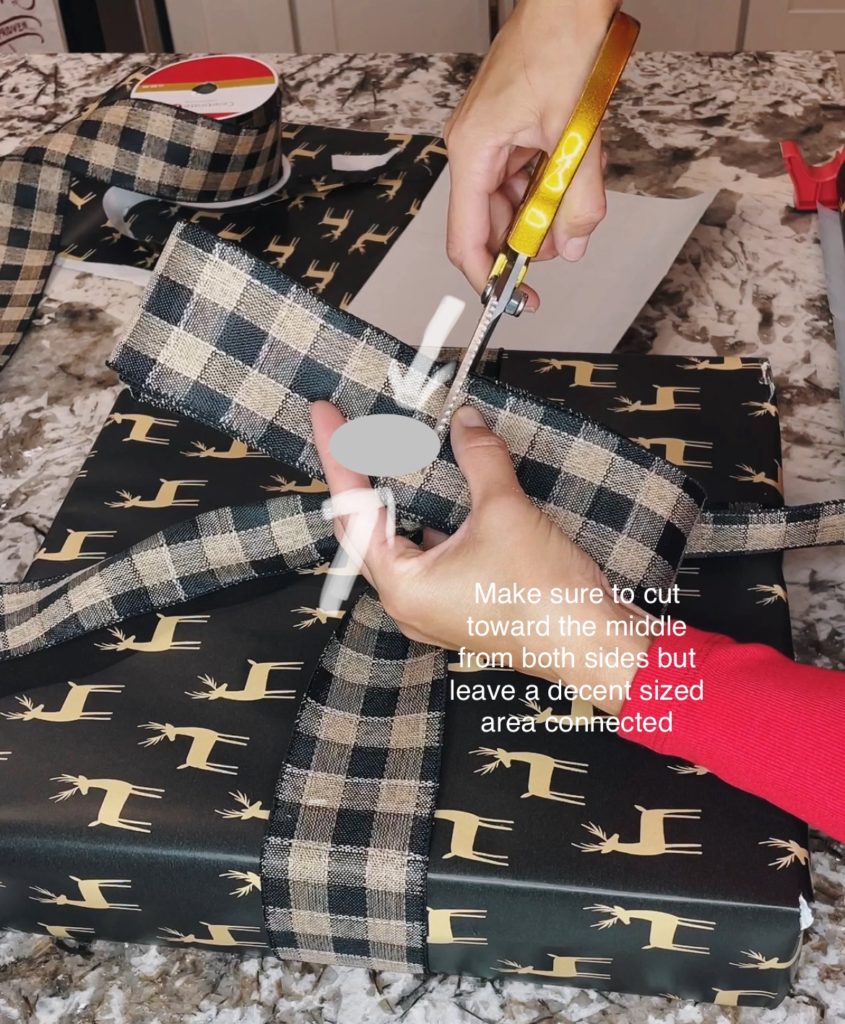
Take your rolled around itself ribbon and notch into each side in the middle toward the center. Do NOT cut all the way through. This is how we will tie the ribbon attached to the package to this rolled ribbon which will become the bow.
Step 4
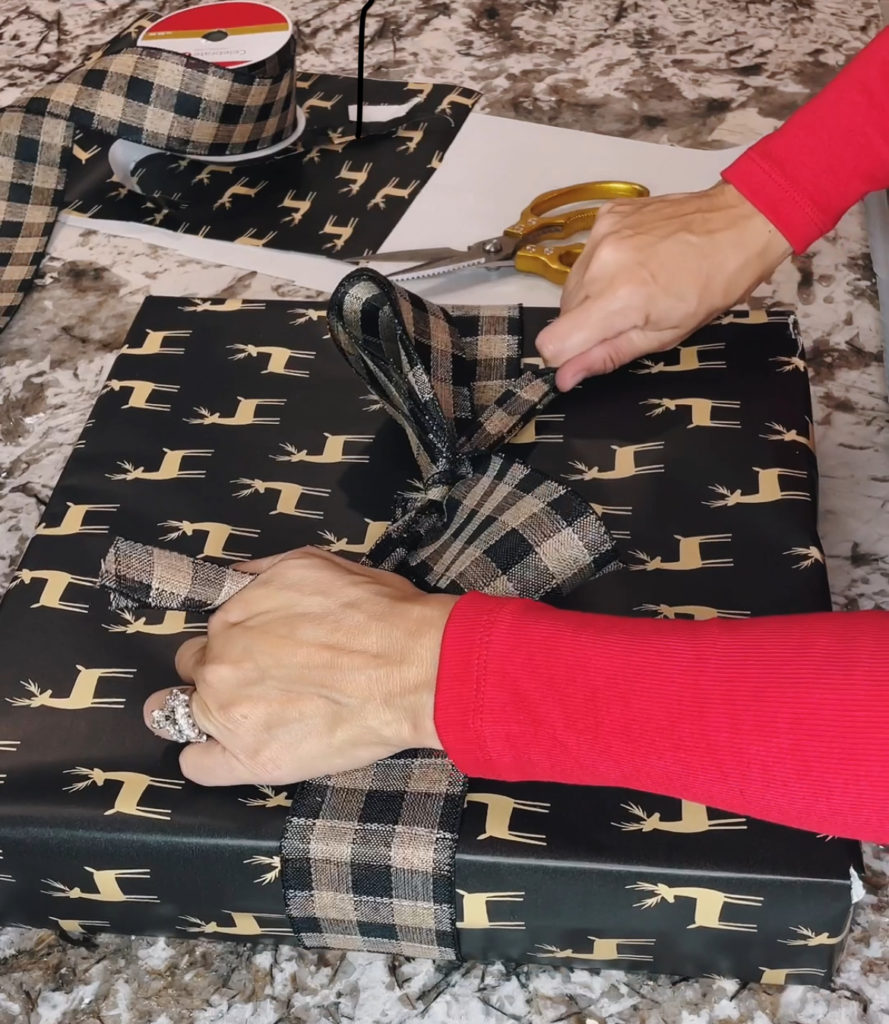
Now place your notched out rolled ribbon on the middle of the knot on the package ribbon. Take the package ribbon and thread it into the notch per each side and tie.
Step 5
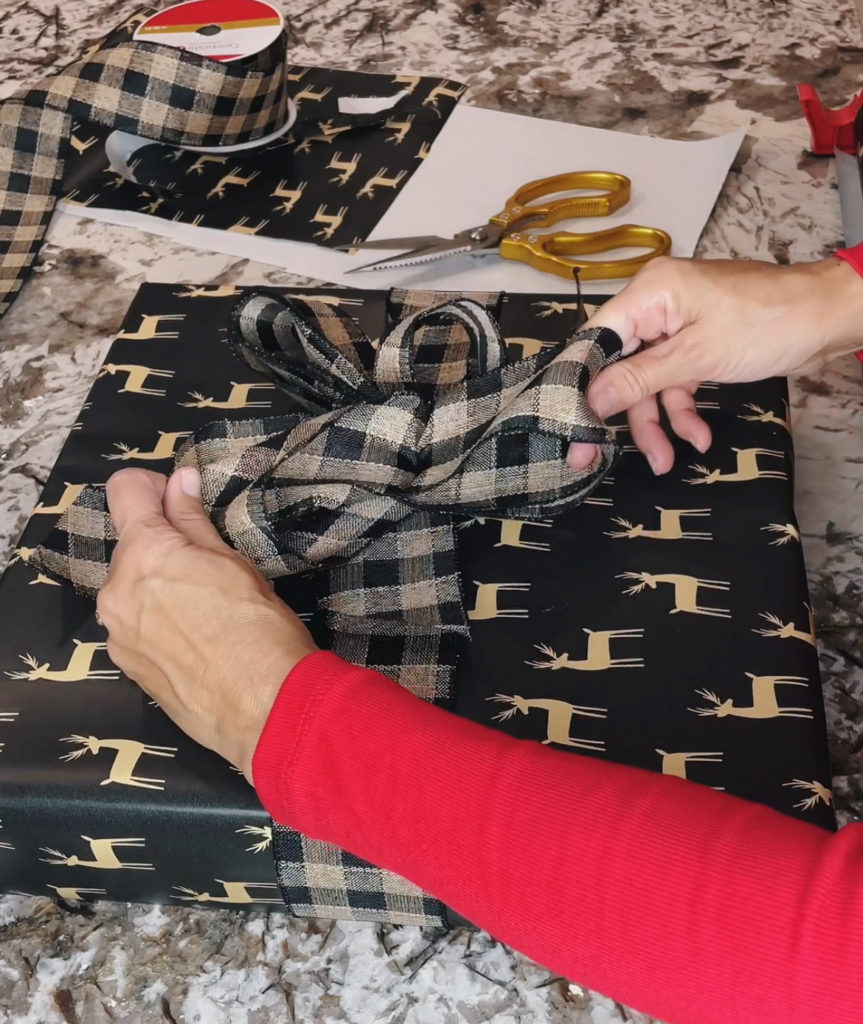
Next is the fun part — time to fluff out the bow. Gently pull the loops out from inside and as you do this you can puff them up so they are big and beautiful (this is why the wired ribbon is important).
And there you go, you now have a gorgeous professional looking bow to elevate your gift! Congrats!!
